Monday, August 6, 2012

A peek into my studio and dream workbench

 I tend to be more reserved and an observer in life. That works for me most of the time but not in blogging. I realize I have to be more of a participant. So first I want to share with you where it is I go when my creative juices are flowing.

I am extremely grateful for my little studio. Back in December we had to make a transition to a new home and I wasn't even sure I would have one. You can read about it here.
When I first started my jewelry biz I wanted to have a workbench that would be highly functional. I wanted lots of storage and a sturdy top that could take a beating. I found one in a Handyman magazine and asked my hubby if he could build it. He said it was too difficult and probably very expensive. He was right my hubby, it was extremely difficult and costly, but not as expensive and buying one. The magazine said it would take a weekend...who were they kidding? It took us three months! A little over $700 and lot's of headache but very well worth it!
The very first cut my hubby did wrong, he made the base six inches wider than it should have been. Uh oh. I realized I needed to be the foreman for the job, so we set out to build it together;) We then went on to built a chicken coop afterwards which was nothing compared to this beast.
 
This is what I love the most. All the drawers for storage. And the three center drawer pulls are special. My mom found those with her metal detector 35 years ago. I went to home depot and chose some hardware to complement them for the other doors and drawers. We used full extension ball bearing drawer glides. That cut my hubby did wrong? Those drawers are a full 26 inches deep!

 The surface is made with glued and screwed 2x4's. We filed off the top and then sanded FOREVER so the top is smooth and splinter free. The total dimension's are 38" by 76".
I absolutely love the top hidden drawer. It's ginormous and always at my fingertips for easy access.
Behind me I have a old server with a cool etched top for my tumbler, pickle pot and food dehydrator. If you are wondering why I use a food dehydrator click here.  
I couldn't find that old magazine, but I did some research for anyone interested in building the workbench and came across this website. It has better directions than the magazine we used and is the same design.
 My office is right next to the studio, so it's very functional and highly productive. Thank god because I am preparing for my largest event in September. A two day music festival. I have been very busy making ton's of new designs and will be adding some to my Etsy store after the festival.
Can you see the jam on the desk? Every summer my sister and I do some canning and freezing. We just finished up making 64 jars of strawberry, cherry and plum jam. We still have lots of jars to put stickers and fabric on. Aren't the stickers the cutest ever? I found them doing a google search here. Very adorable blog with lots of  DIY and freebies.

So that's what I have been up too! I appreciate you taking the time to read my post, and please feel free to leave a comment or question!

Tuesday, January 31, 2012

My amazing and crafty design process

Ok maybe not so amazing, but for sure crafty.

First, the process is relatively simple, you apply a stencil to a product and then sandblast the stencil's image with a special abrasive applied at high pressure. The abrasive then erodes the surface in the open areas of the stencil and leaves a permanent carved impression.

I know, it sounds boring but it's actually quite fun to do.


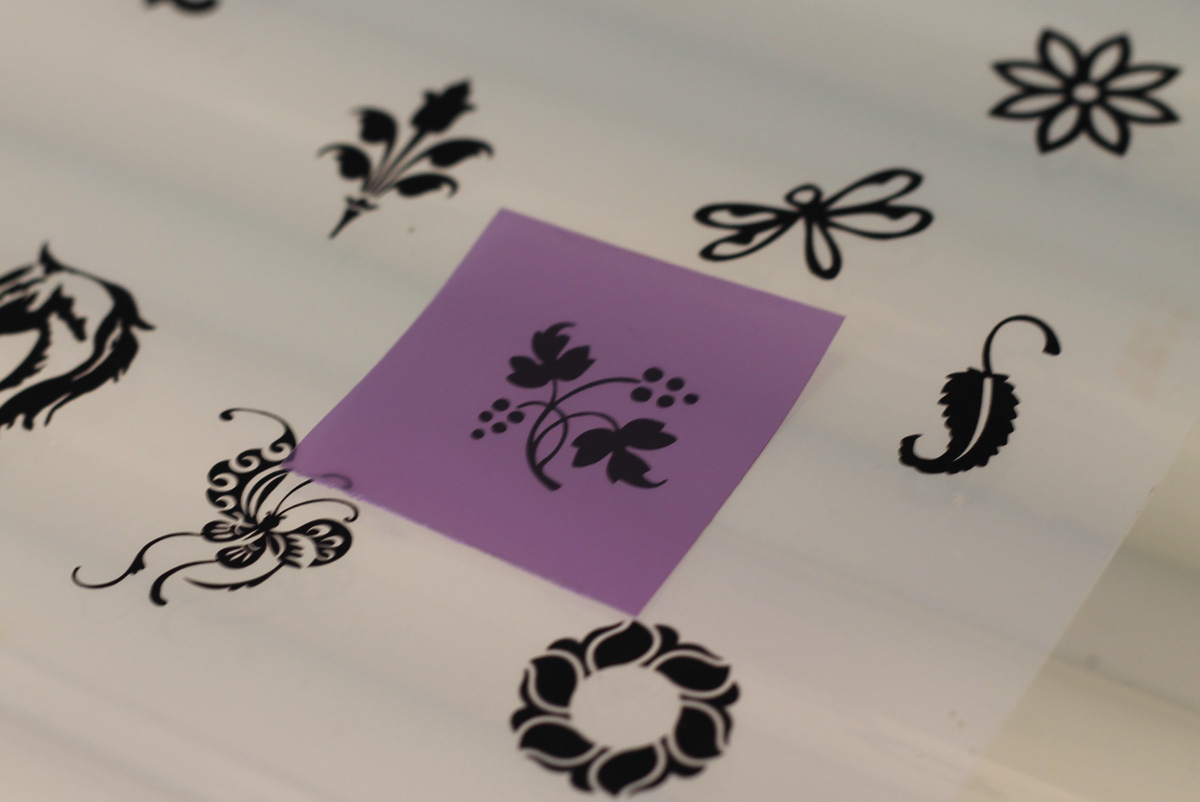
The very first step is the most important because it's where the creativity determines what the pendant will look like. I either draw the image I want or I use royalty-free graphics.  I then upload the image to Photoshop where I darken it and scale it down to the size I like. Now it is ready to be printed on a special type of vellum paper shown below. To the left is my latest hand-drawn design "Transformation"
Sidenote: Sandcarving or sandblasting using this process I am showing you has only been around for about 10 years.
 My father is an electrician so together with my hubby we built a light box to expose the film.

The next step it to expose. I place the film on top of the vellum and turn the light on for 1min 30 seconds.


After exposing the next step is to pressure wash with warm water to develop the film. I use Ikonics Triggerjet and it works like a charm. You can buy washout boxes or just use a sink or shower.


I then place my stencil in my handy dandy Nesco food dehydrator. The alternative is using a photo resist film dryer or you can also use a blow dryer.


After drying I remove the carrier sheet and then apply to my stone of choice.
 I love the creativity aspect of this step because every stone has different patterns and colors and I try to utilize the stones characteristics to enhance my designs.


I then position the film and remove the protective carrier sheet. I wrap the film around the stone and tape the back so the stone doesn't get damaged in the sandblasting process.


The next step is to sandblast the piece. I bought this equipment from a very nice gentleman who hand makes these out of Texas. We modified it to use a foot pedal so I had better control and installed a smaller more fine tuned tip for blasting.

 Sorry about the pic being blurry, it was a challenge to get it just right.
I use silicon carbide grit which is an extremely fine sand and sandblast at approximately 35psi. I went through different grit, and different film until I got the exact formula that I use for my process.


The final step in the process is to airbrush paint the sandblasted piece. I use non toxic acrylic paint with metallic colors. I then can spray a coating of acrylic top coat to seal in the paint and to give it a shine.

Peacock pendant necklace
I let the piece sit over night so it's nice and dry and then I remove the film and clean the stone.


Thank you for reading about my design process and please feel free to contact me if you have any questions.

Wednesday, September 21, 2011

Unique craft fair jewelry stands: Tutorial

UPDATE: I have added new fabric to my stands. You can find them here.
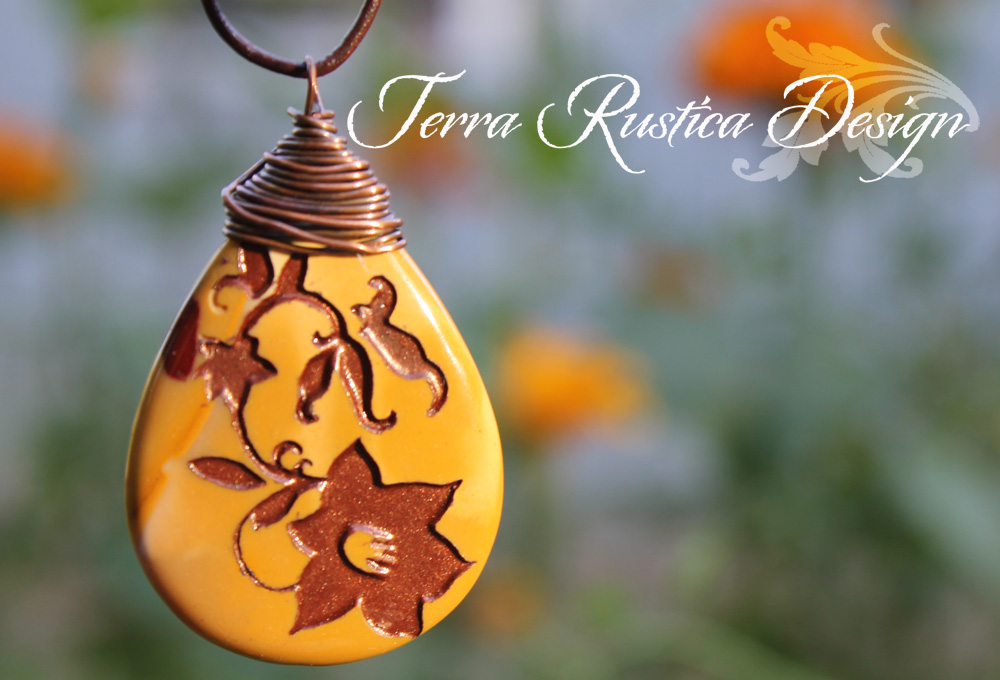
When designing my booth for craft fairs I struggled with the options that were available for jewelry stands. I couldn't find any I liked and wanted them to compliment my pendant necklaces and make a statement. I made twelve of these with different fabrics and am very happy with how they turned out. You can make something similar but but with your own flair and style.
Here is the tutorial:
Supplies:
  1. 1/2” thick particle board for the shield pattern
  2. 3/4” board for stand base. I used one that had a birch wood on the top layer for the grain.
  3. Fruit tree branches (they have a more condensed wood and will be strong). Or you could use anything that would be unique to your style.
  4. Screws and wood glue
  5. Paint for the back of the stands, your color of choice. I used some leftover bronze metallic patina glaze.
  6. Polyester batting or felt for the backing
  7. Fabric of choice for front of stands
  8. Hot glue gun and glue sticks, I used about 1 1/2 per stand
  9. Copper tape or other material to use for wrapping around border of stands and base
First draw the shield template on paper, then cut out. Next trace the template onto the 1/2” thick particle board, then cut out the templates with a jigsaw.


Paint the backs of the shields.


Cut out bases approximately 6” by 6” square. You can now cut the branches! This part is a bit tricky and you have to get it just right or the stands look funky. Make sure the branches are fairly straight and cut to your desired height. Where the top of the branch connects to the shield cut it at an angle, a table saw makes this easier. Then add some wood glue and screw the branches to base and shield.

The next step is to hot glue the batting and fabric to the stands. Don't be a goofball like me and grab the end of the glue gun, I had a few blisters for weeks! Hot glue the batting and then cut remaining off at the back edge.


Then cut out and hot glue top fabric. Almost done! You just have to paint bottoms and then put material around the edges.


You can always update them with a new fabric if you ever decide to change your theme.


Contact me if you have any questions!

Thank you for stopping by!