
First, the process is relatively simple, you apply a stencil to a product and then sandblast the stencil's image with a special abrasive applied at high pressure. The abrasive then erodes the surface in the open areas of the stencil and leaves a permanent carved impression.

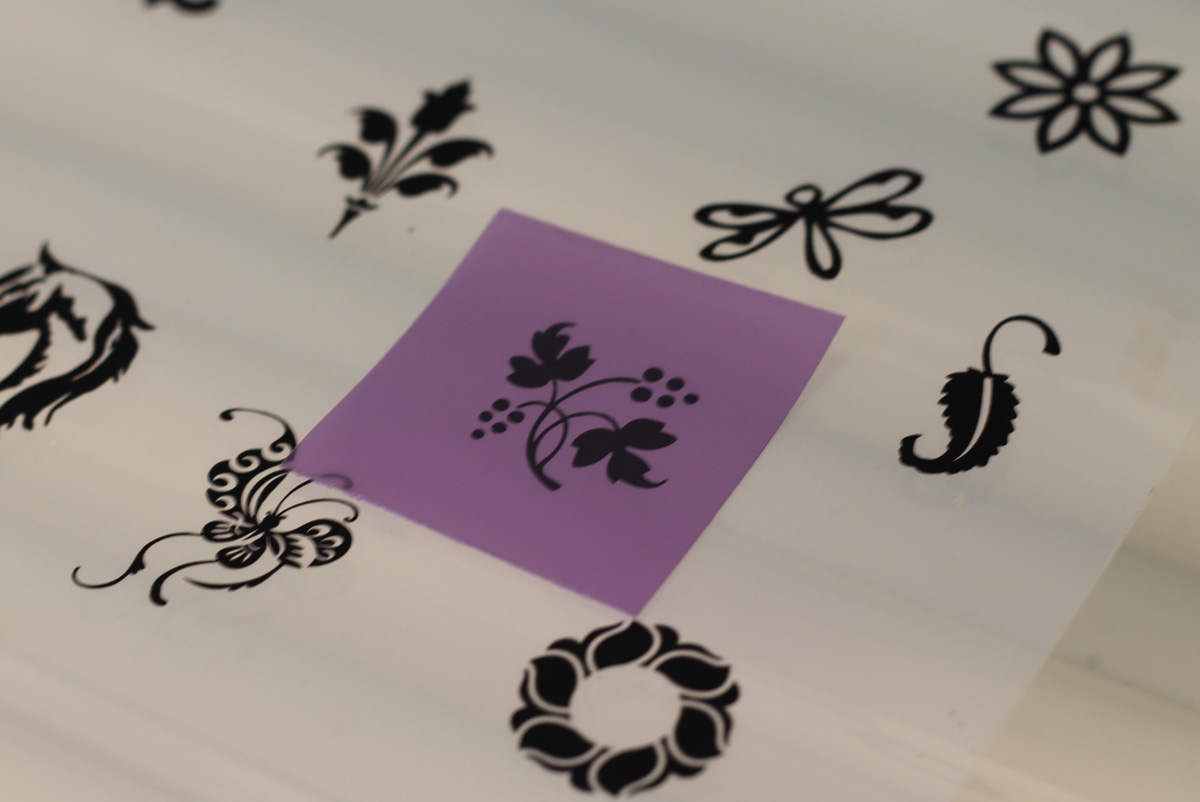
 The very first step is the most important because it's where the creativity determines what the pendant will look like. I either draw the image I want or I use royalty-free graphics. I then upload the image to Photoshop where I darken it and scale it down to the size I like. Now it is ready to be printed on a special type of vellum paper shown below. To the left is my latest hand-drawn design "Transformation"

The next step it to expose. I place the film on top of the vellum and turn the light on for 1min 30 seconds.


After exposing the next step is to pressure wash with warm water to develop the film. I use Ikonics Triggerjet and it works like a charm. You can buy washout boxes or just use a sink or shower.

I then place my stencil in my handy dandy Nesco food dehydrator. The alternative is using a photo resist film dryer or you can also use a blow dryer.


After drying I remove the carrier sheet and then apply to my stone of choice.


I then position the film and remove the protective carrier sheet. I wrap the film around the stone and tape the back so the stone doesn't get damaged in the sandblasting process.


The next step is to sandblast the piece. I bought this equipment from a very nice gentleman who hand makes these out of Texas. We modified it to use a foot pedal so I had better control and installed a smaller more fine tuned tip for blasting.


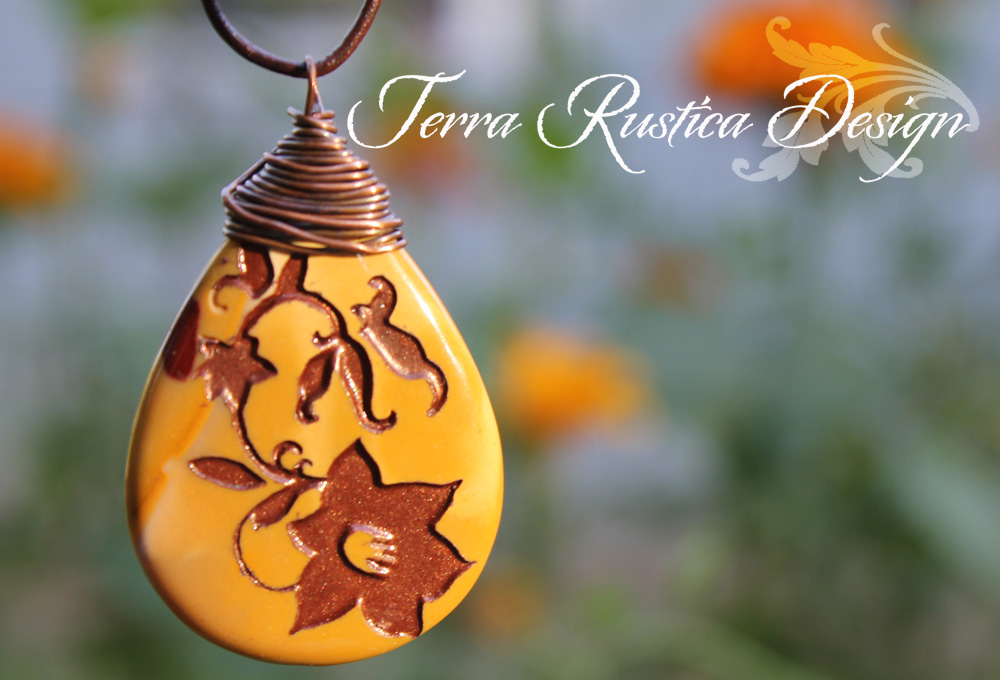
The final step in the process is to airbrush paint the sandblasted piece. I use non toxic acrylic paint with metallic colors. I then can spray a coating of acrylic top coat to seal in the paint and to give it a shine.


Absolutely love your creative skills and desgms!!!
ReplyDeleteSoooo beautiful.,,I have been figuring jand asking around what to buy to drill fine holes in seaglass. No one can help me. Need a very small drill bit, nut do not want to crack the glass.
Discovered I really do have talent in a lifelong dream. After 18 months of chemo and bilateral mastectomy a total knee replacement, I would now enjoy sharing and connecting with the right people to help me with the type of drill I can buy. Even the National Seaglass Association is very hush hush..
Again, your dulled work is impeccable. What price does seithing like that go for?
My name is Debby and I live in CT.
I hope to hear back from you,
eMail: debbydinan@aol. com
thanks so much...
Sincerely,
Debby
Hi Debbie,
ReplyDeleteThank you for commenting and I am happy that you have connected with my work.
Congratulations on being a breast cancer survivor! It will be 5 years this June that I was diagnosed with stage 3 myself, lumectomy, chemo and radiation.
I found this youtube video for you describing very well how to carve a hole into seaglass. http://www.youtube.com/watch?v=lAAbeVs0ITII
I use a micro die grinder that I purchased from harbor freight to carve holes in stones and glass. It is essential that you keep the drill well lubricated and immersed in water to cool it and also you have to keep it well lubricated. Rio Grande has a lubricant that you can buy.
The Barrel blaster and Blast master are reasonably priced and I like the fact that they are handmade in the states. You can find them here. http://www.barrelblaster.com/
Let me know if you have any other questions,
Cheers,
Carol
Hi I love this and really would love to start doing it. I bought myself an airbrush sandblaster whichvis just a mini sandblaster but still capable of the same things. My question is where do you get your exposure film and how much do you pay cause ive been looking everywhere and it seems to be really expensive. Thanks tom
ReplyDeleteHi Thomas,
ReplyDeleteThe film can be expensive. Here is my resource http://ikonicsimaging.com/wp/store/products/category/photoresist-films/ They have different film according to what you are trying to sandblast. They will also send you samples to try so you can see what works best for you. I went through a BUNCH of samples! They are very helpful and nice to work with. Thank you for your comment!
Carol
carol I would like to sandblast bigger stones do you know of a company to get good starter equipment
ReplyDeleteNot really. We built our own equipment, instead. Thanks for your comment!
ReplyDelete